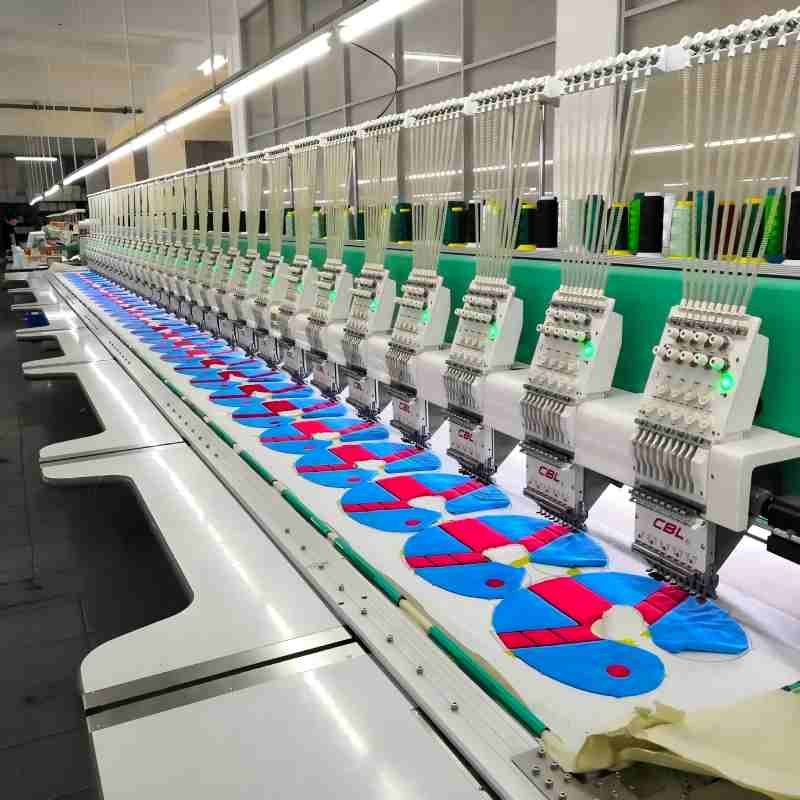
Plush decoration isn’t just about looks—it’s about staying readable and intact in production.
We support multiple decoration methods for plush projects and focus on how each performs on different fabrics, shapes, and production volumes—so approved designs remain consistent, durable, and brand-readable at scale.
4 proven plush decoration methods—choose fast, scale consistently.
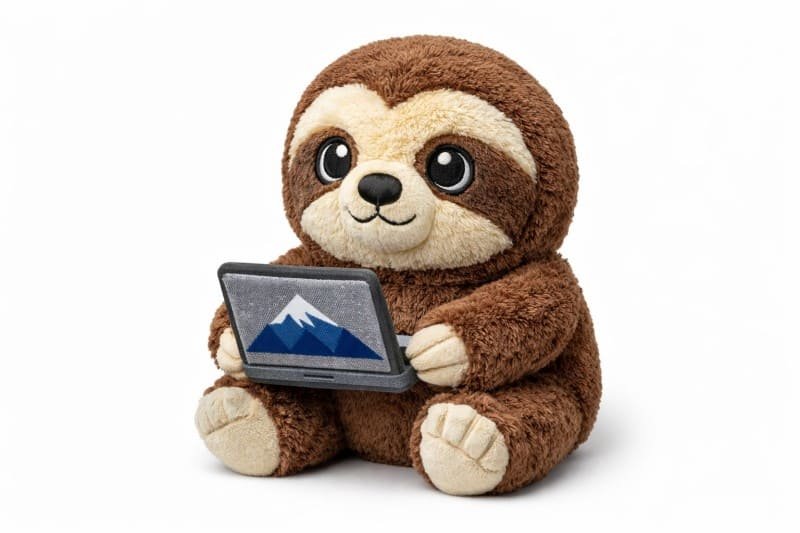
Best when:logos, line art, facial outlines, small-to-medium color counts, designs that must stay readable on textured plush.
Pros (what you gain)
Cons (trade-offs to know upfront)

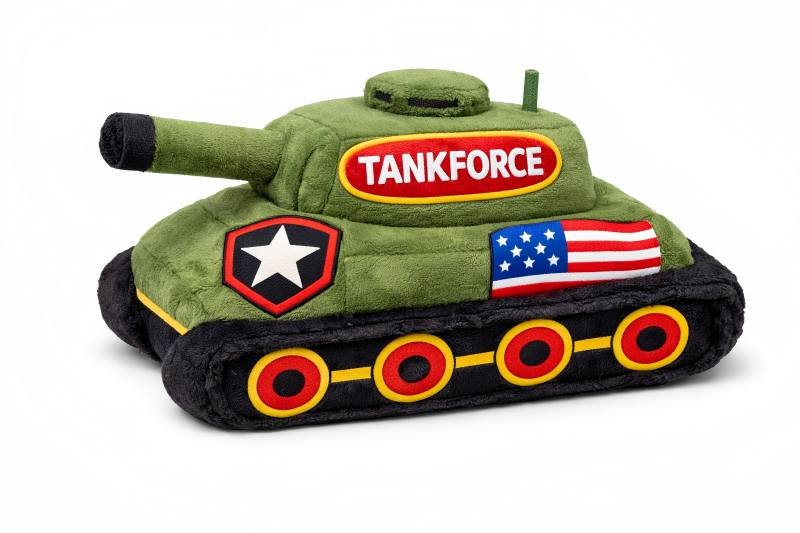
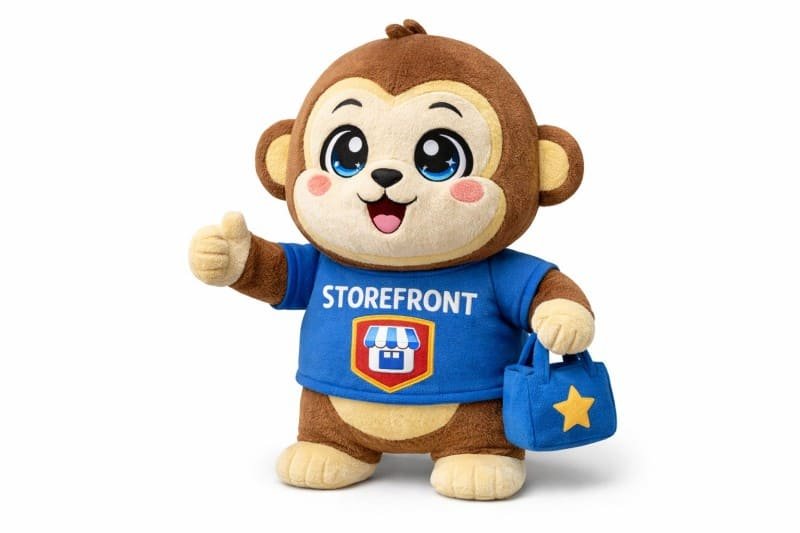
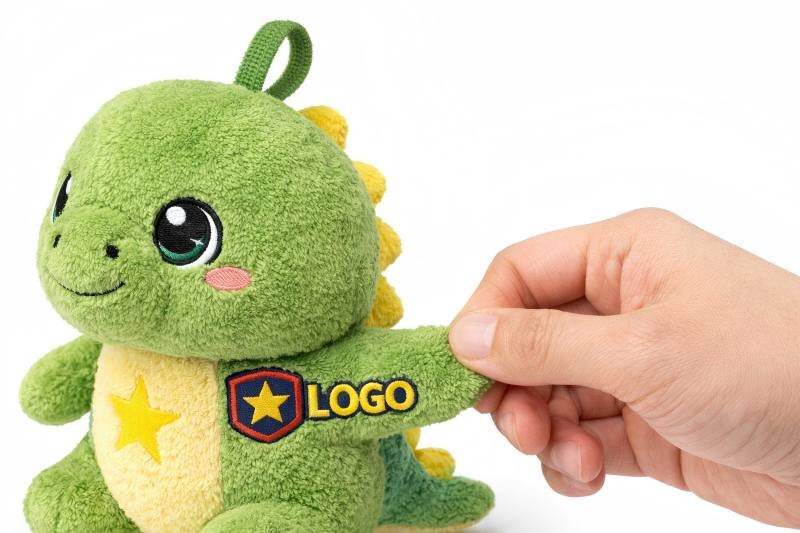
Best when:bold color blocks, large shapes, badges/patch looks, designs that need strong contrast and clean borders.
Pros
Cons
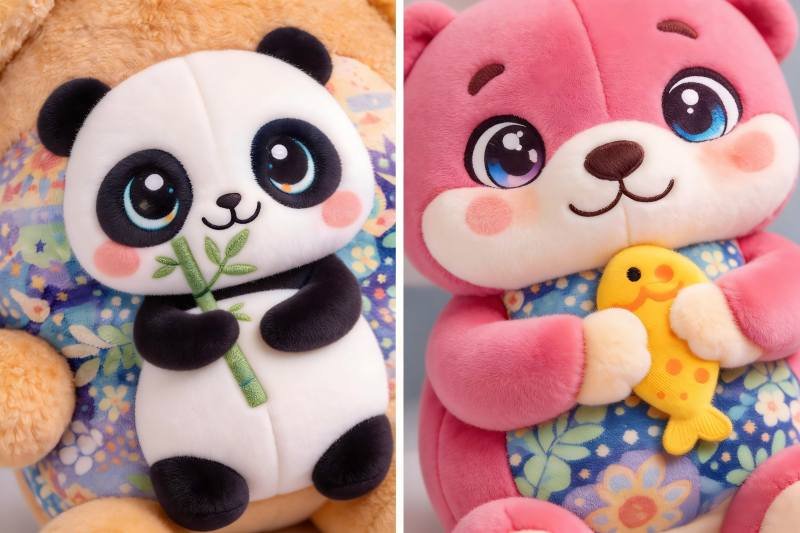
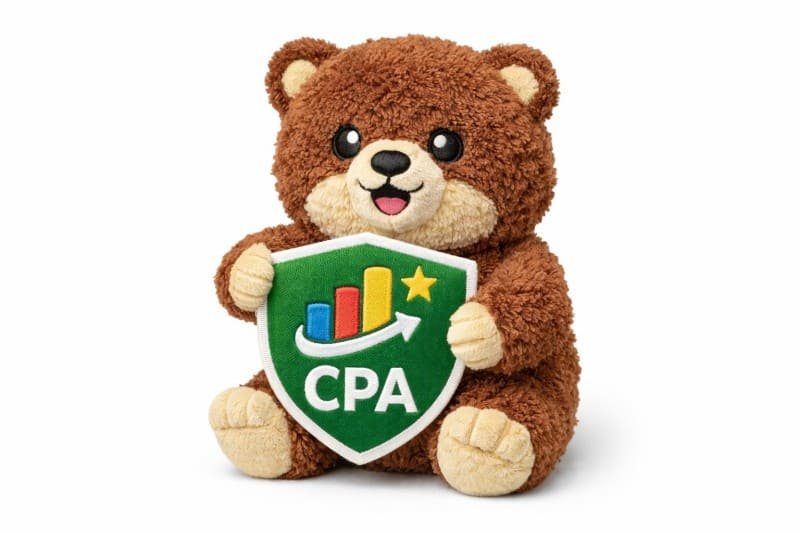
Best when:full-color faces, gradients, complex patterns, large artwork areas that should remain soft.
Pros
Cons

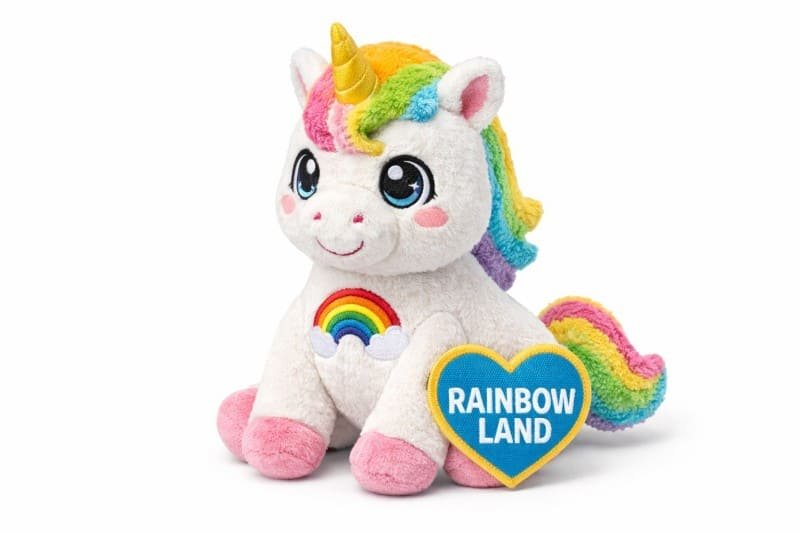
Best when:you need both brand readability and rich color, or you want a premium “layered” look without sacrificing softness.
Pros
Cons
Beyond embroidery supply—an innovation system for consistent decoration.
Match the decoration method to artwork type, plush size, fabric texture, and end use. This section maps each option to the most stable outcome—logo readability, face expression, color coverage, and durability—so the project stays clear and consistent from sample to bulk.

Best fit
Avoid when possible
Decision factors
Best fit
Avoid when possible
Decision factors
Best fit
Avoid when possible
Decision factors
Best fit
Avoid when possible
Decision factors
Best fit
Common risk
Best fit
Common benefit
Best fit
Use carefully
Best fit
Decision factors
| Use-Case Comparison / Decision Factor | Embroidery | Appliqué | Printing | Mixed Methods |
|---|---|---|---|---|
| Logo readability (small text / crisp edges) | ✅ Best for outlines & simplified logos | ✅ Best for bold logos & patch look | ⚠️ Texture may soften small text | ✅ Best balance (logo lines + color fill) |
| Face expression (multi-color, gradients) | ⚠️ Limited for complex facial color | ⚠️ Good for simple shapes only | ✅ Best for facial detail & gradients | ✅ Print face + embroidered outline |
| Large color blocks (soft hand-feel needed) | ⚠️ Dense fill may stiffen | ✅ Great for large shapes | ✅ Great for wide coverage | ✅ Use each method where strongest |
| Patterns (repeat graphics, full coverage) | ⚠️ Not ideal for dense patterns | ⚠️ Better for large motif pieces | ✅ Best for patterns | ✅ Print patterns + add stitch accents |
| High-pile / fluffy fabrics | ✅ Strong option (with simplification) | ✅ Crisp edges, strong contrast | ⚠️ Fine lines can blur | ✅ Choose per artwork zones |
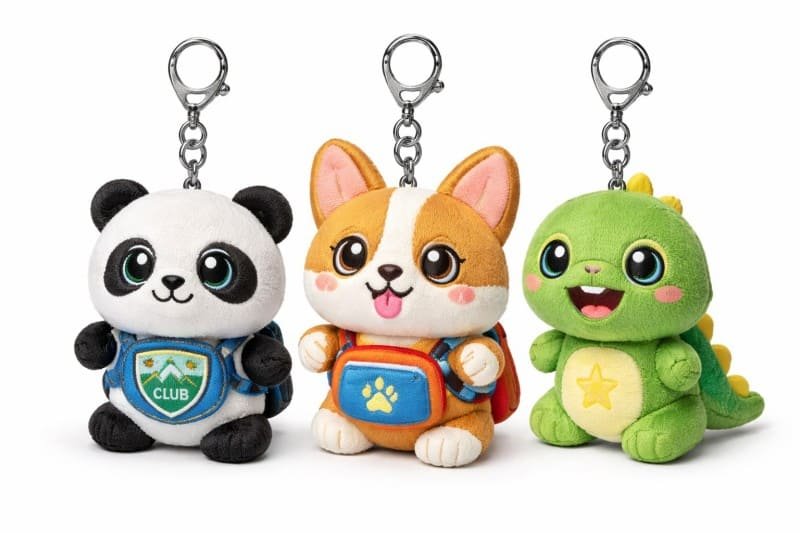
| Small plush (keychains 10–15cm) | ✅ Simplified logos & key lines | ⚠️ Avoid tiny layered pieces | ✅ Sharp faces if fabric allows | ✅ When both branding + face needed |
| Large plush / mascots (30cm+) | ✅ Premium accents & edges | ✅ Big shapes, badges | ✅ Large faces & color areas | ✅ Most “brand-ready” for scale |
| Photo impact (e-commerce thumbnails) | ✅ Dimensional, reads well | ✅ High contrast, clean shapes | ✅ Rich colors; clarity depends on fabric | ✅ Best overall readability + richness |
| Wear tolerance (frequent handling) | ✅ Generally strongest for long-term | ✅ Strong when edges reinforced | ⚠️ Depends on fabric & placement | ✅ Plan durability by zoning methods |
| Revision risk (artwork sensitivity) | ⚠️ Needs simplification for micro-detail | ⚠️ Needs clear shape separation | ⚠️ Needs correct fabric pairing | ✅ Lowest when artwork is zoned correctly |
| Best for | Logos, outlines, premium definition | Patches, bold blocks, layered shapes | Faces, gradients, patterns | Brand-ready balance for bulk consistency |
| Watch-outs | Tiny text, huge solid fills | Edge durability, small parts | High pile softens edges | Needs clear artwork zoning |
Pick by outcome: Embroidery for crisp branding, Printing for expressive faces, Appliqué for bold shapes, and Mixed when both readability and color must stay consistent from sample to bulk.
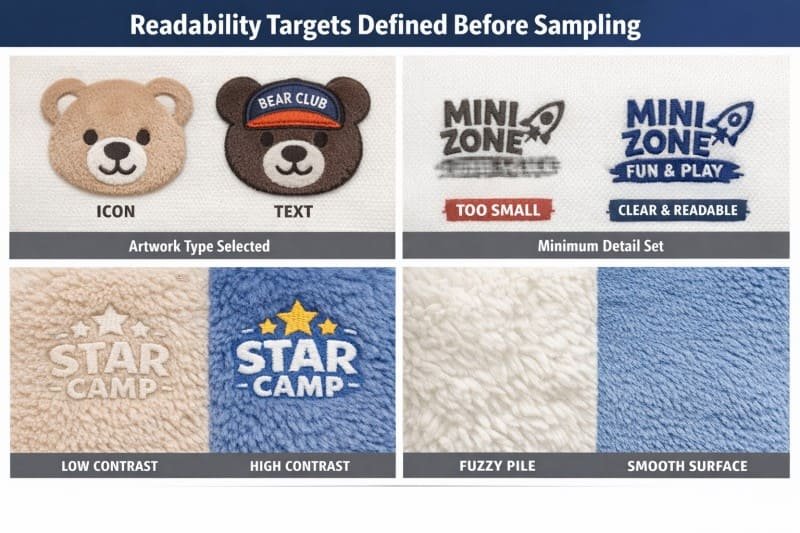
Readability Consistency = Controlled Inputs + Controlled Execution
“Clear” on plush usually breaks for four reasons: scale drift, placement drift, edge blur, and operator interpretation. The consistency system below removes interpretation and anchors execution to the approved reference.
What gets locked first (decision inputs)
Decision Factors
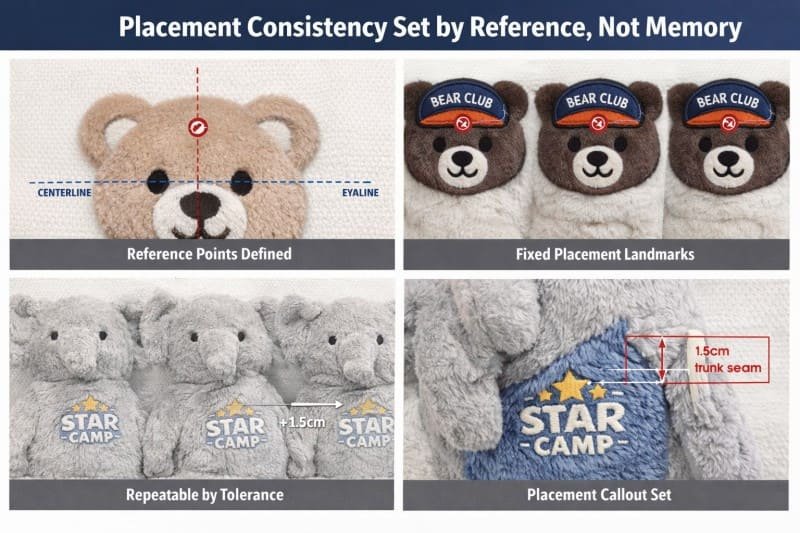
How placement is kept repeatable
Decision Factors
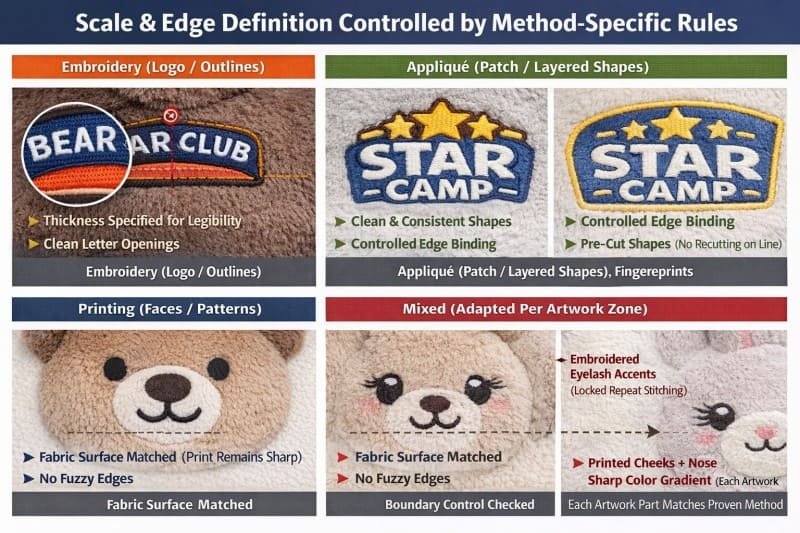
Readability fails most often when scale changes or edges soften.
For Embroidery (logo / outlines)
For Appliqué (patch / layered shapes)
For Printing (faces / patterns)
Decision Factors
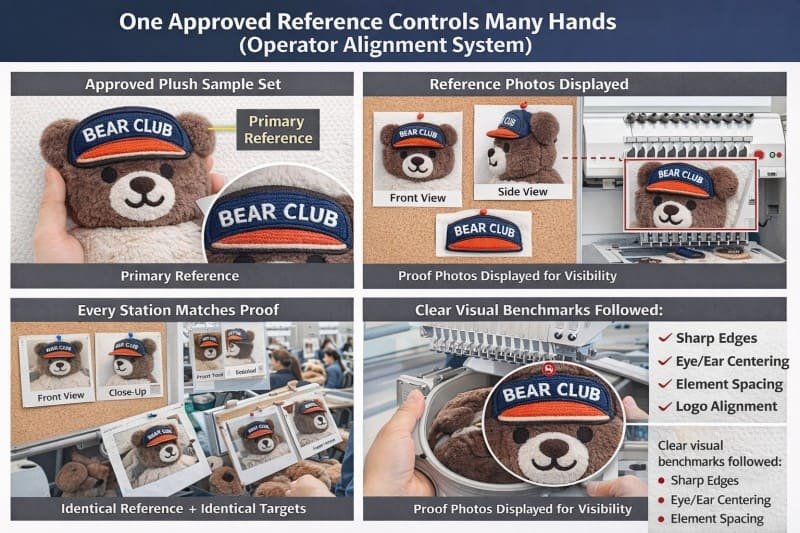
Consistency is strongest when every station sees the same “approved truth.”
How line interpretation is removed
Decision Factors
Durability Starts with Method–Fabric Compatibility
Decoration failures usually come from predictable interactions: stretch, pile movement, friction, folding, and seam tension. Durability improves when wear is designed in early—before bulk begins—so the approved look remains stable in real-world handling, not only on a perfect sample.
Durability considerations by method
Decision Factors
The best-looking option on a screen can fail on the wrong plush surface. Compatibility prevents rework later.
Wear concentrates in repeatable locations. Durability planning starts by mapping stress and keeping decoration out of failure zones whenever possible.
High-stress areas to treat carefully
Durability choices that reduce failure
Decision Factors
If a spot is pulled, folded, or rubbed daily, decoration should be treated like a wear part—not a display graphic.
Most durability problems appear at edges: lifting, peeling, fraying, cracking, or fuzzing. Edge choices are durability choices.
For embroidery
Edge durability comes from clean borders and stable stitch structure—lines stay separated, borders don’t collapse as pile shifts.
For appliqué
Edge durability depends on edge treatment and secure stitching paths—borders resist lifting and fray.
For printing
Edge durability depends on boundary control and surface suitability—edges stay visually clean instead of fuzzing out on high-pile fabrics.
Decision Factors
Clean edges are not just aesthetics—edges are where wear starts.

Decoration is selected by use scenario, not by appearance alone.
Use intensity examples
Decision Factors
Higher friction and pulling require more reinforced, repeatable execution choices.
Durability improves when execution stays stable unit to unit—variation creates weak points.
Execution priorities during bulk
Decision Factors
A durable result is a consistent result—batch stability protects long-term wear.
Once decoration is approved, the objective is not “make it similar.” The objective is make it match—locked artwork, locked placement, locked scale, and workstation-visible proof photos. Production follows a repeatable execution pack, preventing “reinterpretation” and keeping the approved look intact.
1. The Approved Sample Becomes the Primary Execution Reference
What gets frozen after approval
Decision Factors
2. A “Decoration Execution Pack” Connects Sample to Production
A production line needs repeatable inputs, not messages passed by memory.
Execution pack typically includes
Decision Factors
3. Workstation Visual References Keep Everyone Aligned
References are only useful if they’re visible where work happens.
How alignment is maintained
Decision Factors
4. First-Article Confirmation Locks the Bulk Baseline
Before full run, the first produced piece is checked against the approved reference.
What gets confirmed
Decision Factors
5. In-Process Checks Keep the Approved Look Stable Across the Run
During bulk, checks focus on buyer-visible consistency.
In-process checkpoints
Decision Factors

Q1: Can small logo details stay readable on a tiny plush?
Feasibility depends on target size and fabric pile. When micro-details fall below a stable threshold, a simplified version protects readability and prevents bulk drift.
Q2: Which method looks the most premium?
Embroidery and well-finished appliqué often deliver the most premium, dimensional look. The best choice depends on fabric texture and how much of the area needs coverage.
Q3: Can printing handle gradients and complex artwork?
Often yes—especially for faces and multi-color artwork. Results depend on fabric surface and boundary sharpness requirements; a safe recommendation can be mapped once artwork and fabric type are confirmed.
Q4: How is placement kept consistent across batches?
Placement is locked to the approved reference (front/side/close-up), then checked against the same visual landmarks during production—so bulk pieces match the approved look, not a new interpretation.
Q5: Will decoration choices affect lead time and cost?
Yes. High stitch density, multi-layer appliqué, or mixed-method workflows add steps. Early feasibility review prevents last-minute changes that create delays and rework.
Q6: Does fabric choice change decoration clarity and durability?
Yes. High-pile plush can soften fine lines and small text, while smoother surfaces hold sharper boundaries. Method selection should follow fabric behavior to keep clarity stable in bulk.
Q7: Can methods be combined on one plush (mixed decoration)?
Yes—mixed methods are often the safest way to balance logo readability and rich color. Each artwork zone is assigned to the method that holds up best in bulk.
Match Decoration method to fabric—now.
Send your brand artwork from share:

I am Nika, our team would be happy to meet you and help to build your brand plush.